This article provides detailed instructions on importing templates downloaded from BricksWizard to your website.
This includes downloading the template from BricksWizard, importing individual page templates, and more.
Let’s get started.
Step 1. Download The Template
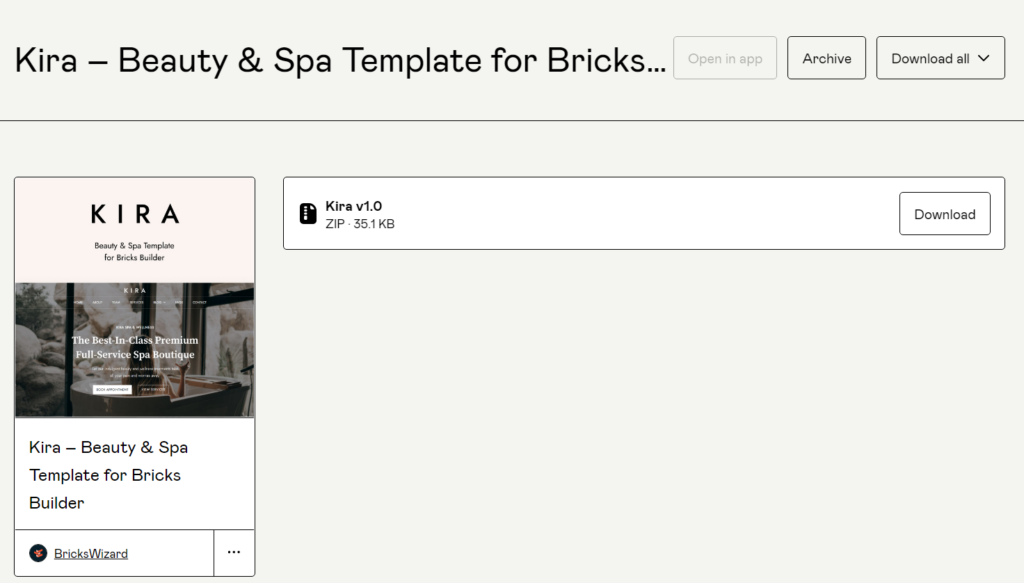
Once you’ve purchased the template, you can download it from the Purchase Confirmation page on Gumroad as shown below.
Step 2. Extract The Template File
The template is downloaded as a ZIP file that needs to be extracted. Once you’ve extracted the file, you’ll see two folders named: Core Templates and Page Templates.
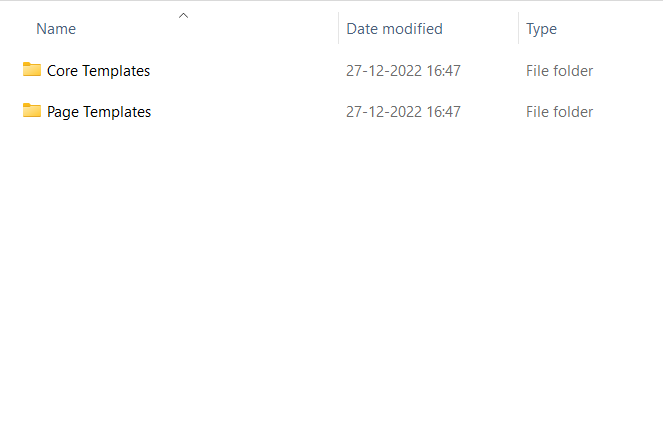
Here’s what each folder includes:
Core Templates: This folder includes all the Core templates such as Header, Footer, 404, Styleguide, etc.
Page Templates: This folder includes templates of pages such as Home, About, Contact, etc.
Step 3. Import The Layout
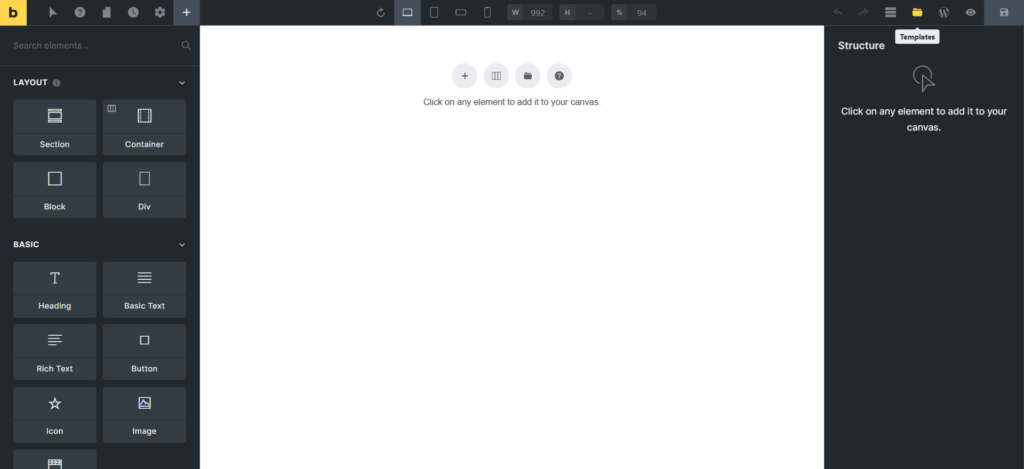
To import a layout on your Bricks website, go to your WordPress dashboard and load the Bricks Builder on any page.
Click On The Templates Icon
On your Bricks Builder page, click on the Templates icon on the top right corner of the builder as shown in the image below:
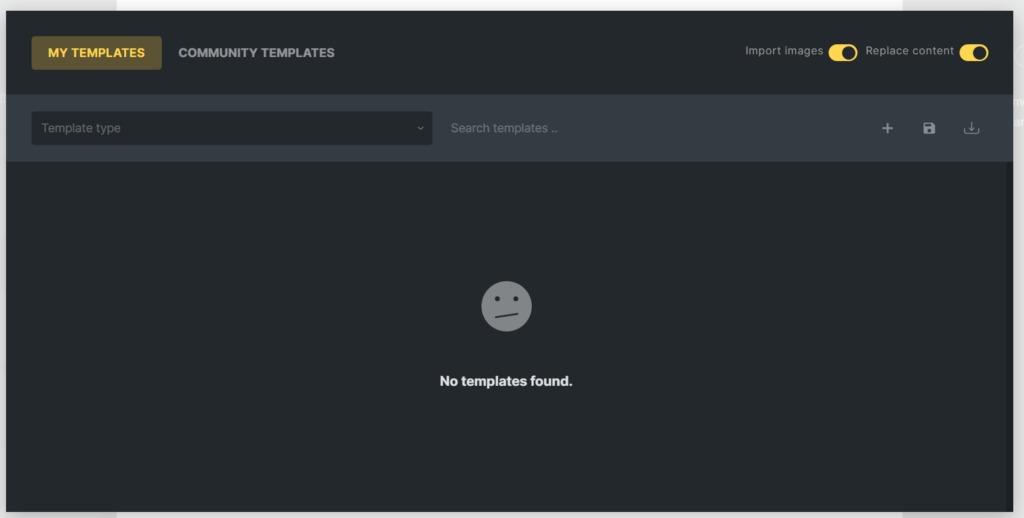
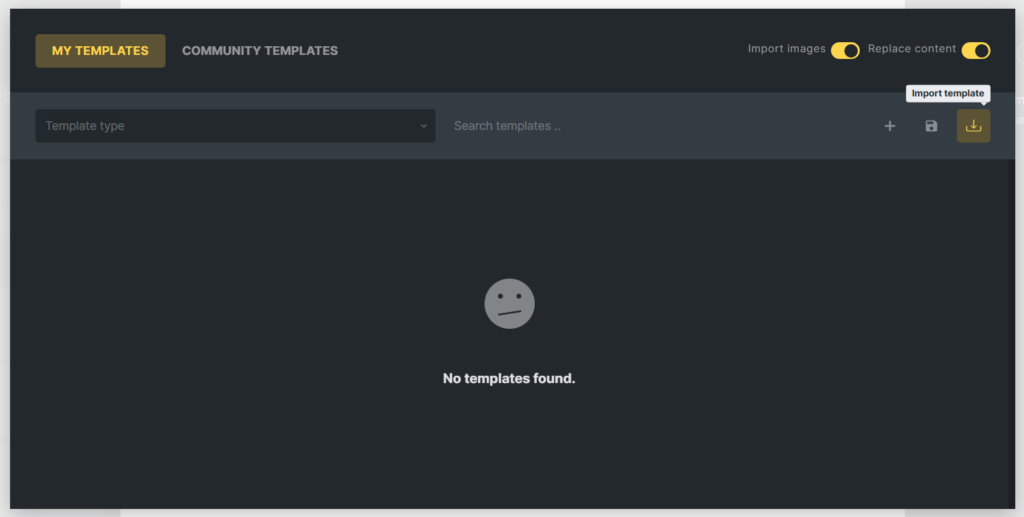
Enable Import Images & Replace Content Option
Once you click on the Templates button, it will open a popup window where you can import the template. But before you import the templates, make sure the Import Images & Replace Content option is checked.
This will ensure that the images in the template are loaded. If the box is left unchecked, it doesn’t load the images in the template and shows empty placeholders.
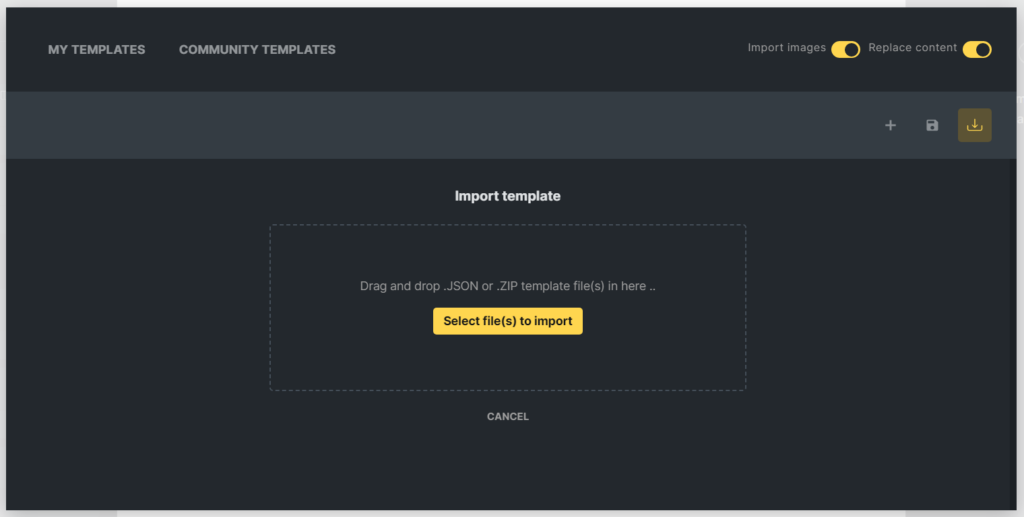
Import The Template File
Now, click on the Import Template icon as shown in the image below:
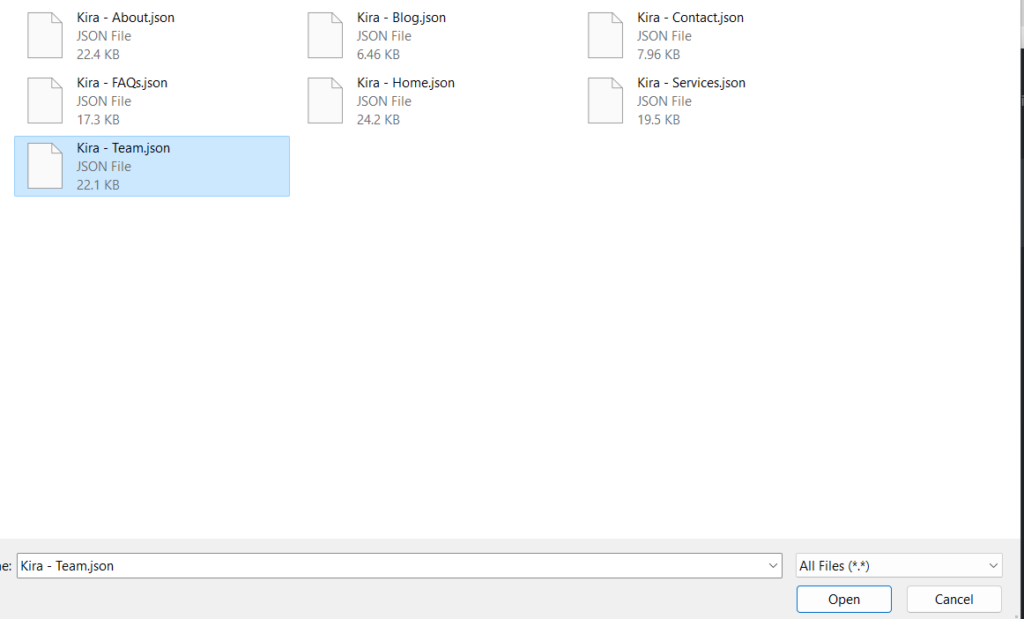
On clicking the button, you’ll now see an option to import a .JSON file.
Choose the desired template you want to import and upload it.
Step 4. Insert The Template
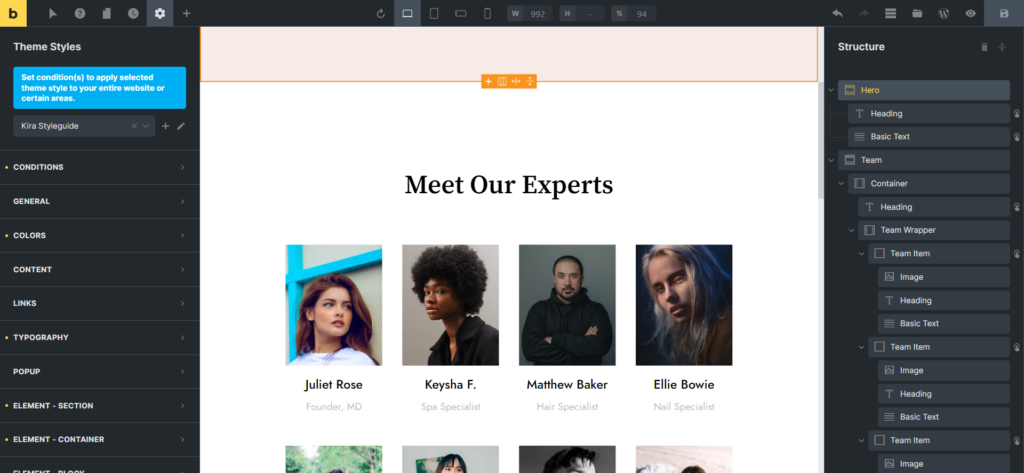
You’ve successfully imported the template into Bricks Builder. Now, it’ll be visible in the templates section as shown below.
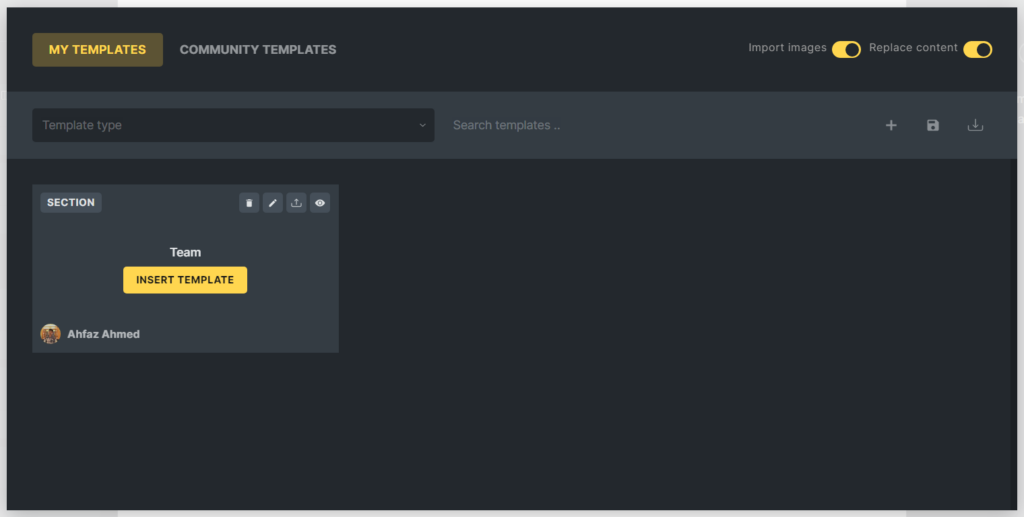
Click on the Insert Template button to insert the template on your page.
Voila! You’ve successfully imported a BricksWizard template to your website!
Note: If you’ve imported templates without loading the Styleguide first, the pages would not load the theme styles of the template. To avoid this, it is recommended that you load the Styleguide template before loading any other page templates. You can learn more about how to import the BricksWizard Styleguide template here.


